How Fisheries Managers Respond When Trash Fish Get Trendy
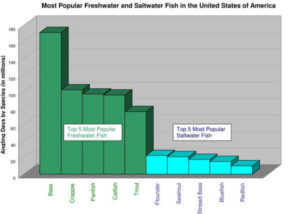
Source: U.S. Fish and Wildlife Service 2013 National Survey
By Chris Macaluso, Theodore Roosevelt Conservation Partnership
from The Fishing Wire
Fisheries management can be influenced by the American appetite for (certain kinds of) seafood, which makes it even more important that the system works better for anglers
My brother Joey and I were weird, I guess. When we were kids, we loved to fish for sheepshead, which, at the time, were generally thought to be a “trash” fish and were despised by most Louisiana anglers.
Sheepshead are ugly by any objective standard. They have big, goofy buckteeth, gray and black skin, and a row of foreboding spikes along their dorsal fins. They’re also an absolute pain to clean. Some charter guides I knew when I was in my teens refused to even put them in the ice chest, for fear that they would wind up on the cleaning table along with the better speckled trout and redfish.
But I never agreed with sheepshead getting a bad rap. First of all, they fight like caged, rabid raccoons. And on our summer trips to Grand Isle or fall excursions to Cocodrie, the sheepshead aggressively ate a piece of shrimp or hermit crab on a jig head when the speckled trout wouldn’t cooperate, and they guaranteed that we had some fresh fish to go with our suppers of canned beans, and French bread.
Sure, you had to hack through some thick rib bones and tough scales to get a filet. But crabs are hard to clean, and I don’t know too many folks who consider boiled and steamed blue crabs to be “trash,” just because the meat is difficult to pick out.
Then, about 15 years ago, sheepshead started showing up on restaurant menus under the pseudonym “bay snapper.” Suddenly, a bunch of anglers who would never have kept an ugly, stubborn sheepshead were raving about how tasty their fish-of-the-day lunch special was.
Now, pretty much every restaurant in South Louisiana has sheepshead on the menu or as a fresh-fish special. I guess the cliché about one man’s trash being another man’s treasure applies.
I’m often struck by how frequently recreational and commercial fishermen are pitted against each other over a handful of “popular” fish because they taste good or they fight hard or simply because they are easy to catch. How many fish like sheepshead, once considered less desirable by both recreational and commercial fishermen, are out there? How can fishing for these species lessen the animosity that has been built over fish like red snapper?
I’m also dumbfounded, at times, by the argument that states are not as equipped to manage commercial fisheries as the federal government, especially when states have responded to the increased popularity of sheepshead with adapted management for both recreational and commercial harvest. And still we don’t fight over sheepshead at state commission meetings like we do over red snapper at the federally directed Gulf of Mexico Fisheries Management Council.
State fisheries agencies generally do a good job of conservatively managing commercial and recreational fishing, which is one of the reasons the TRCP and many of its sportfishing partners support the Modern Fish Act—because it would increase the role that states play in federal management and data collection for recreational fishing.
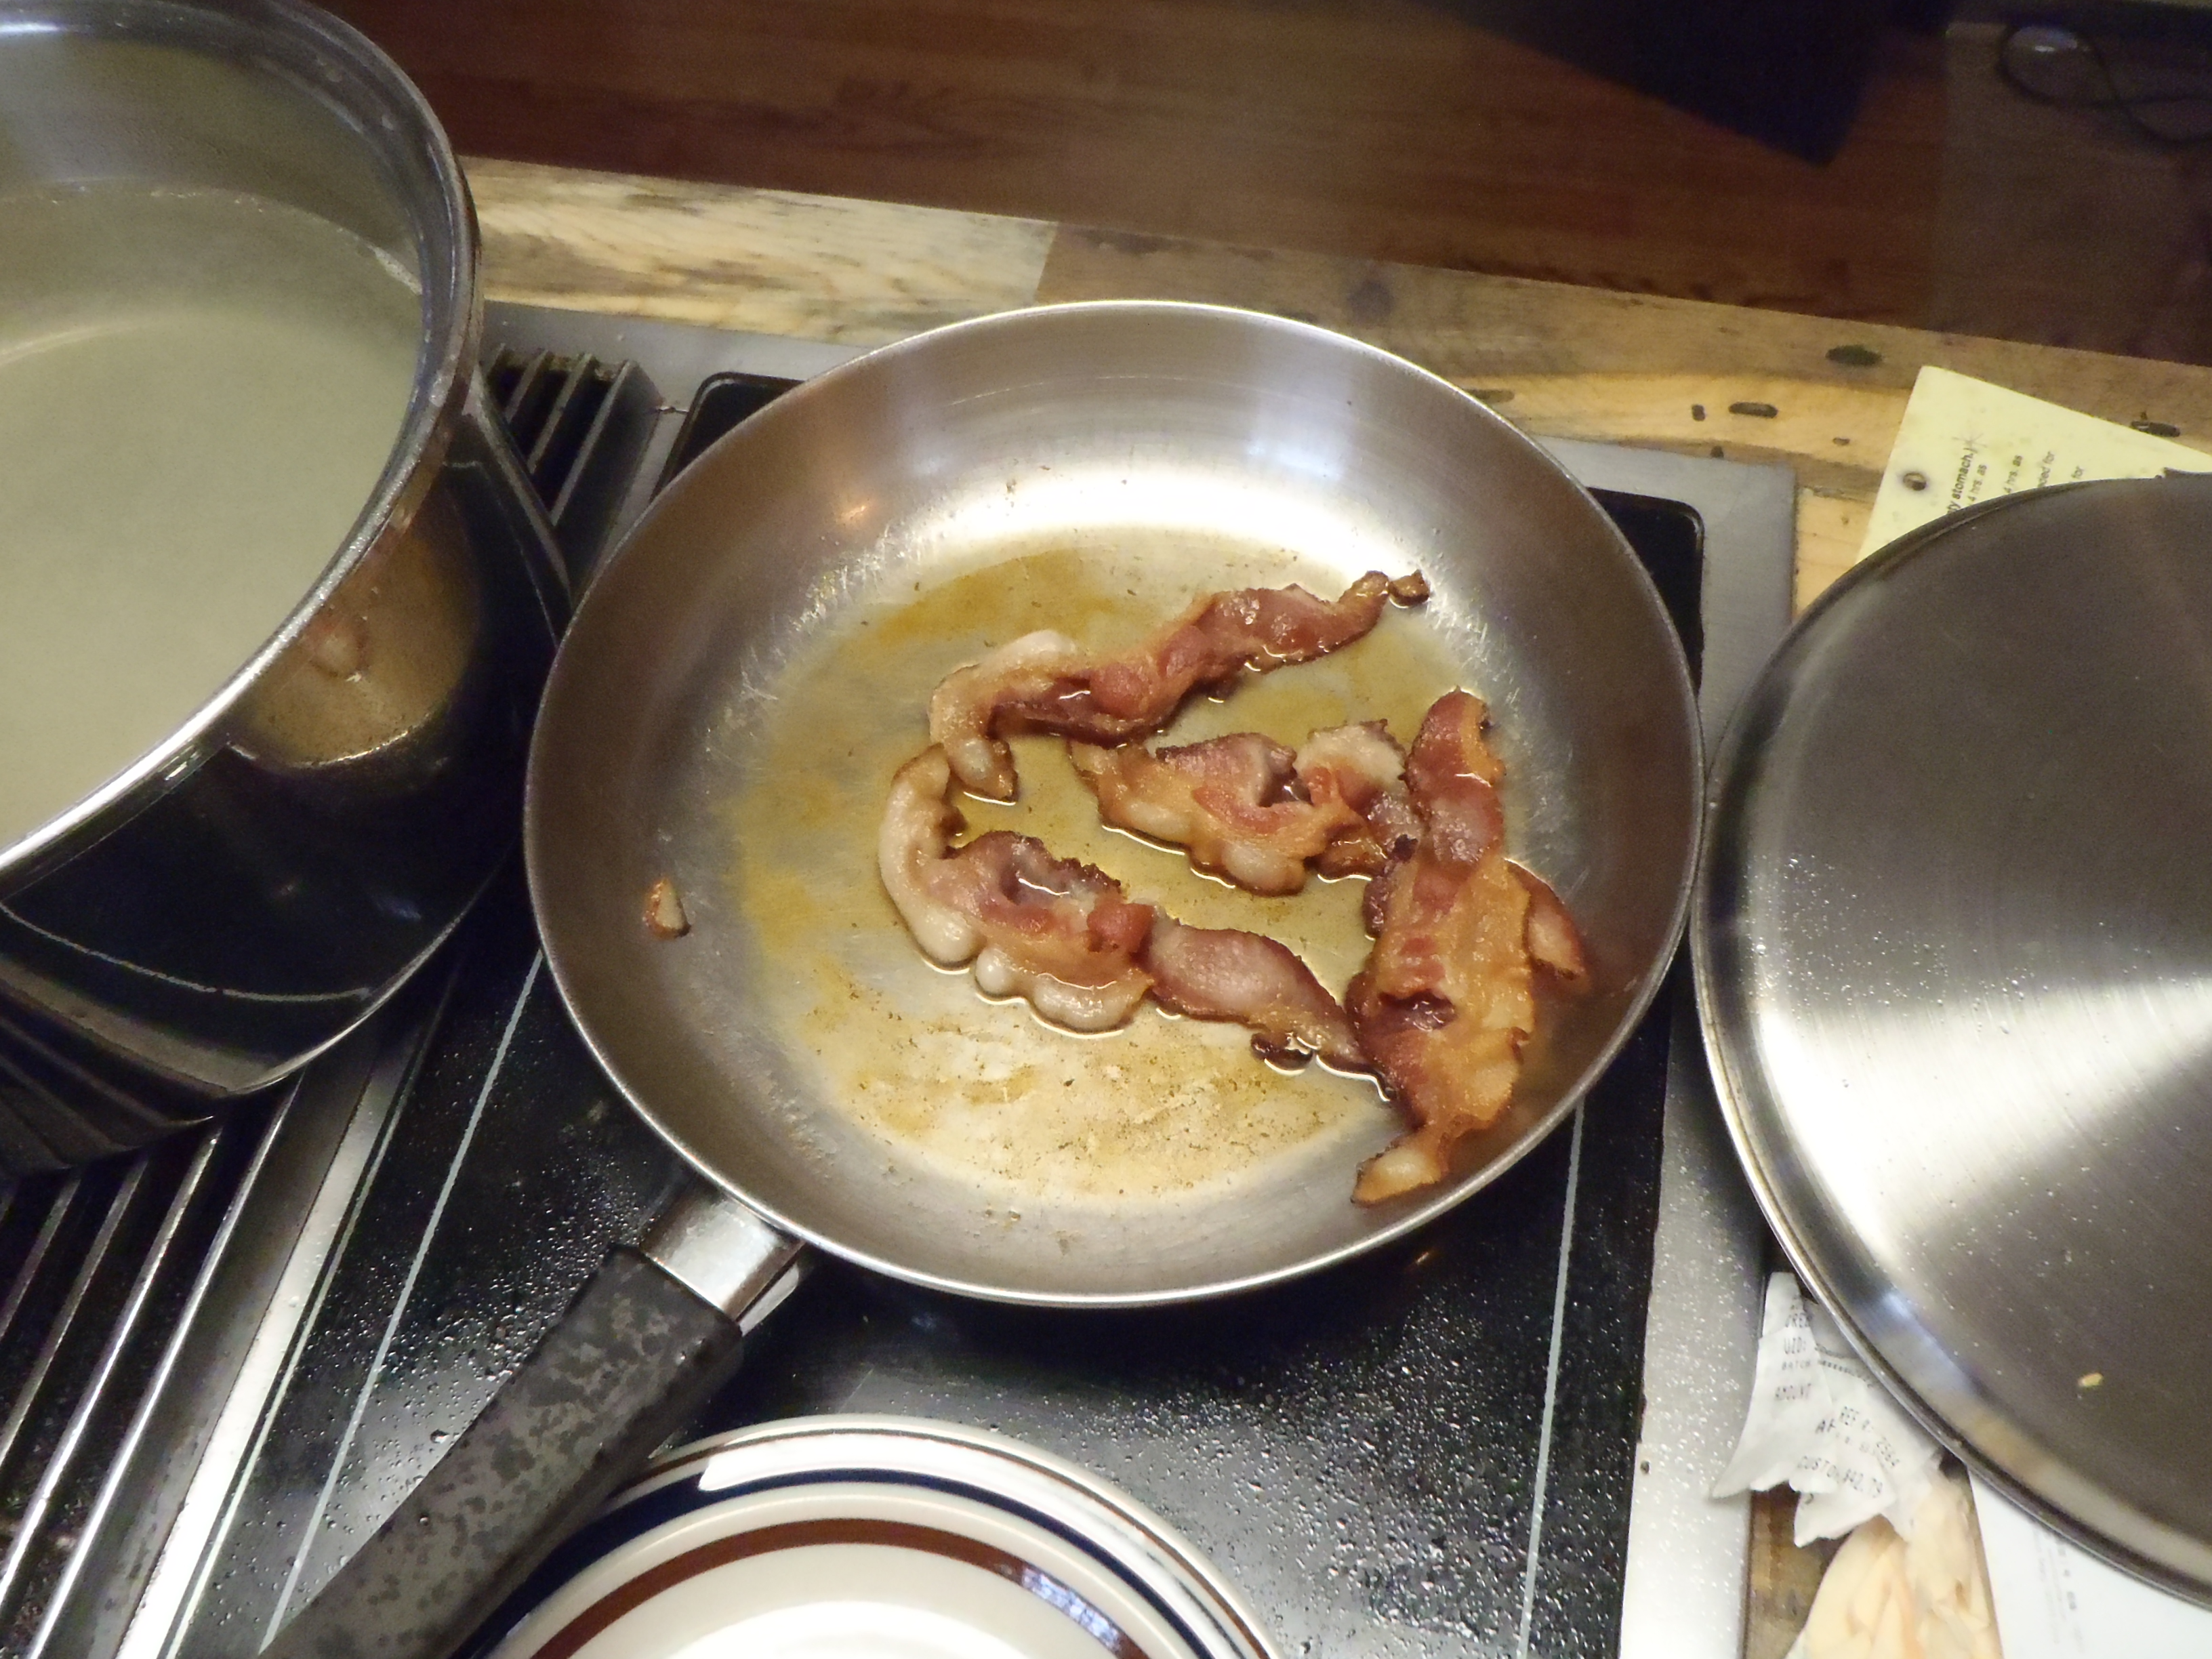
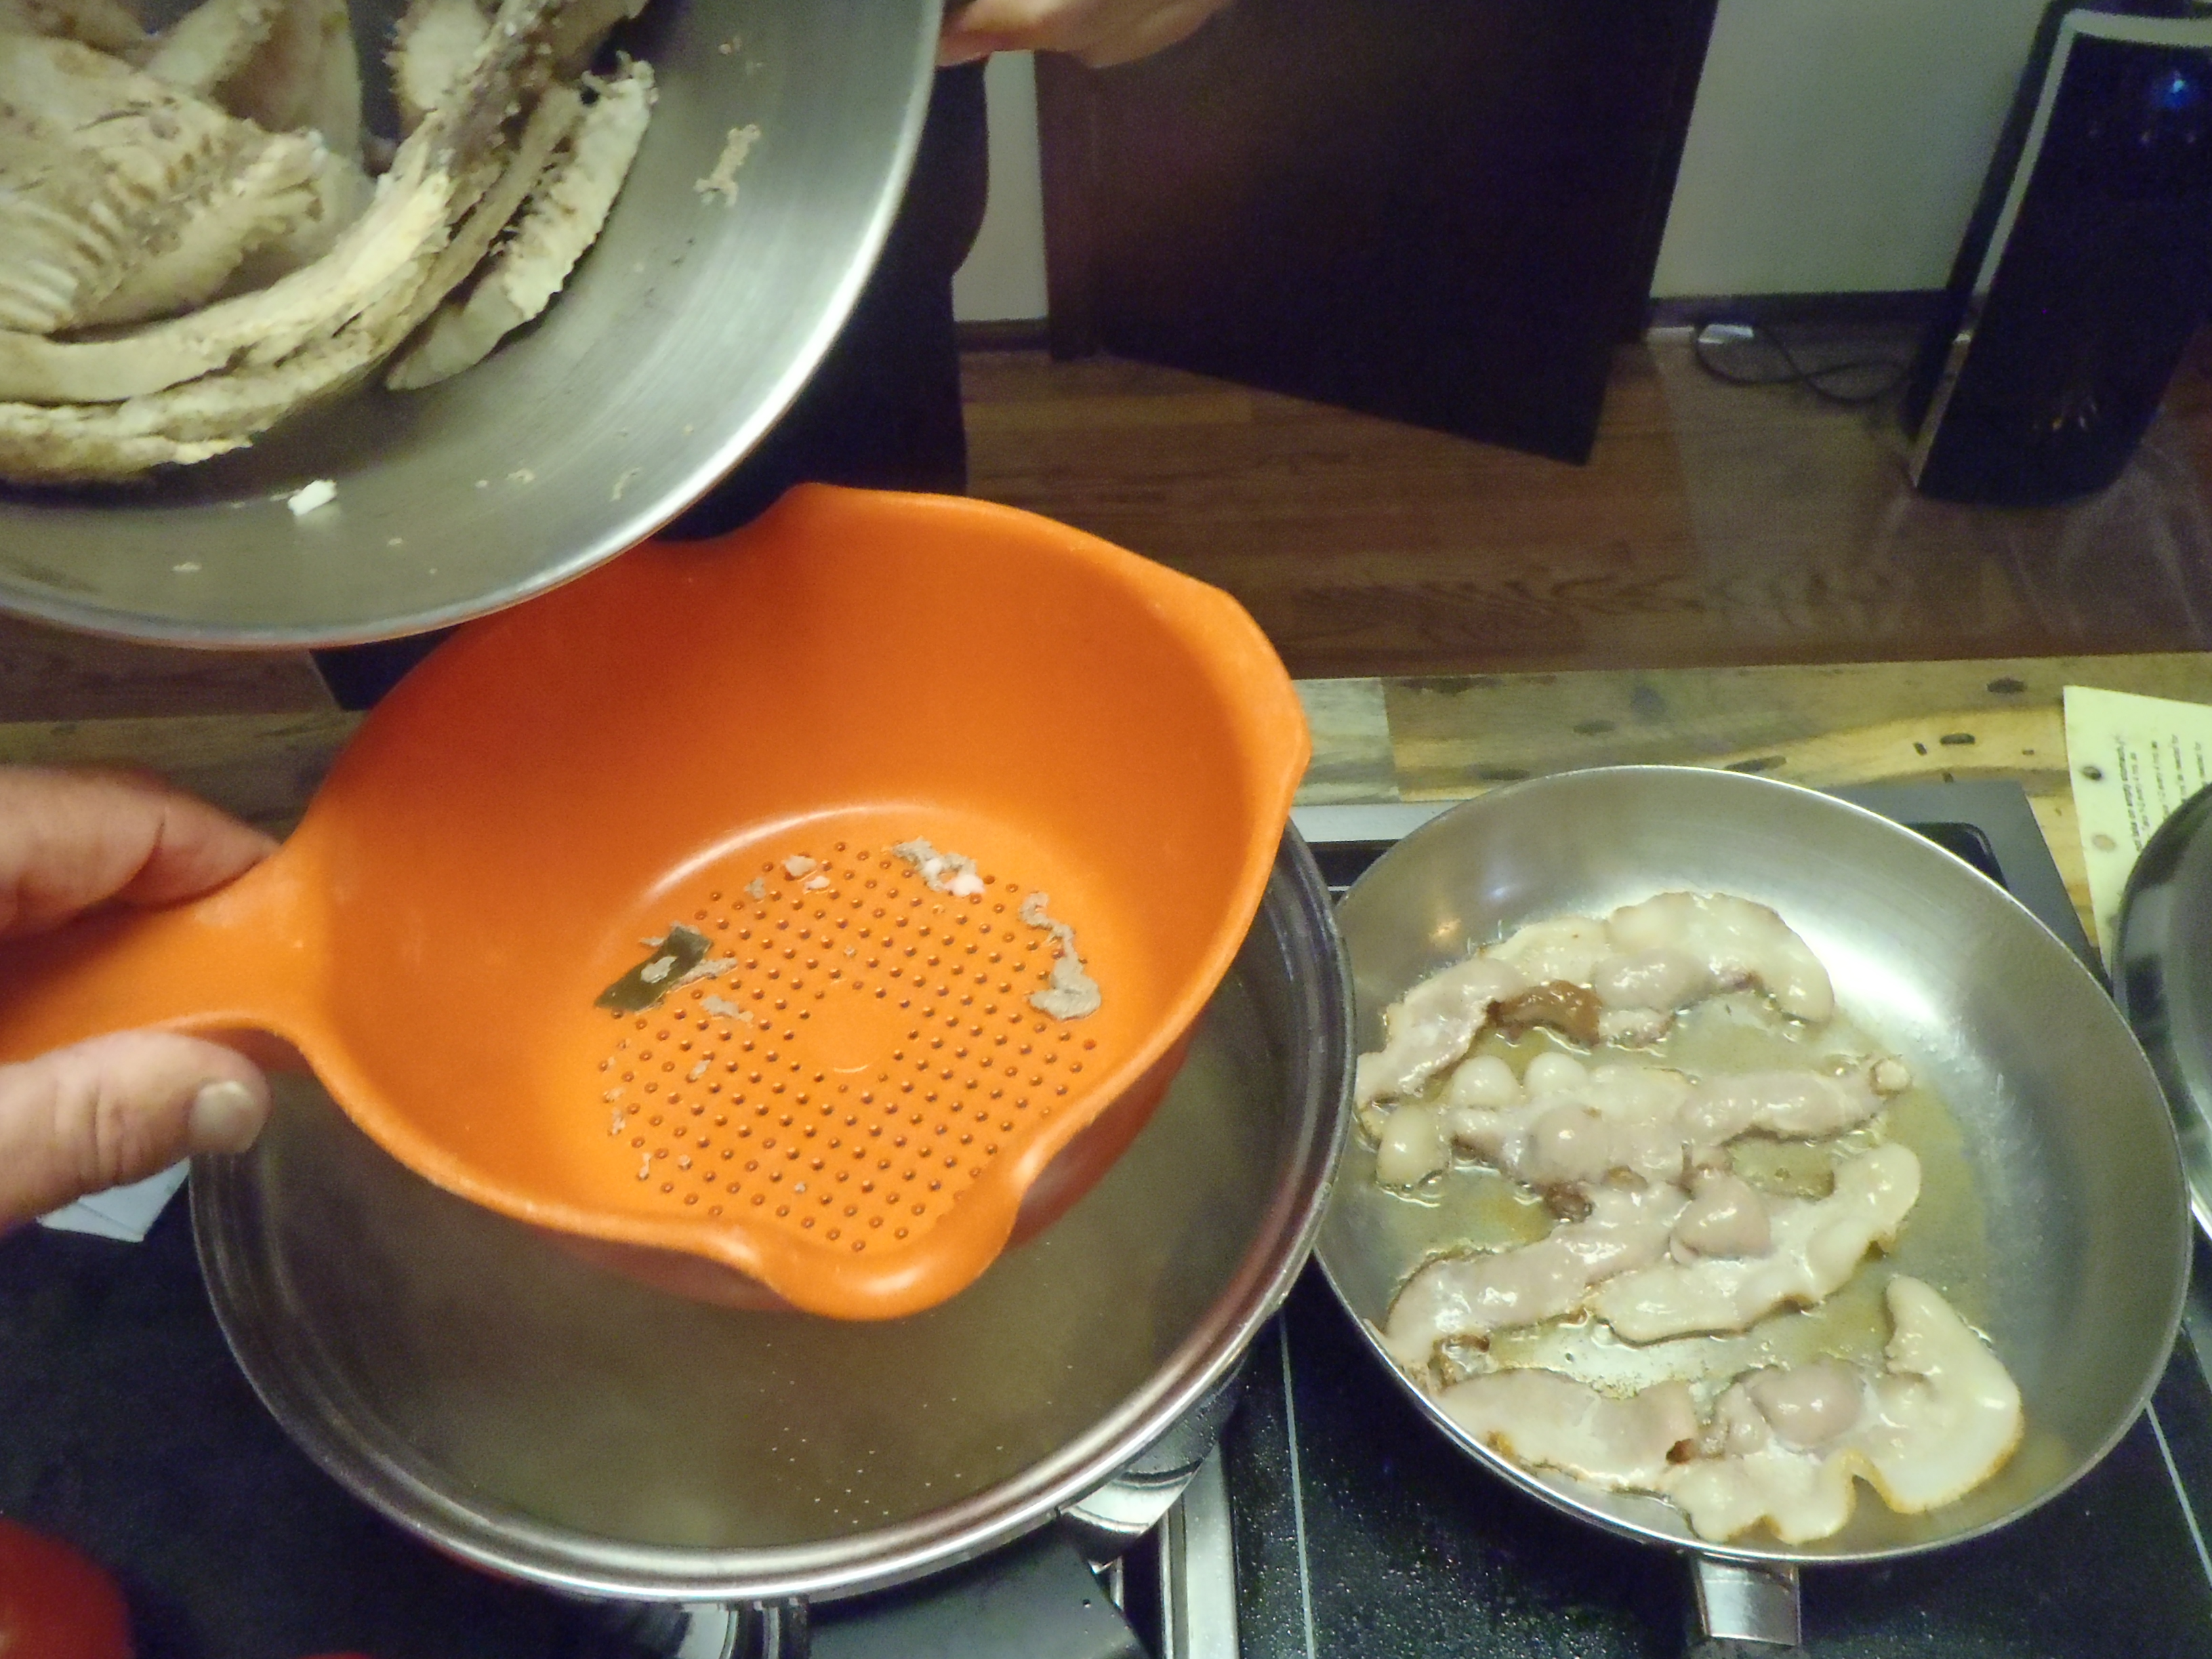
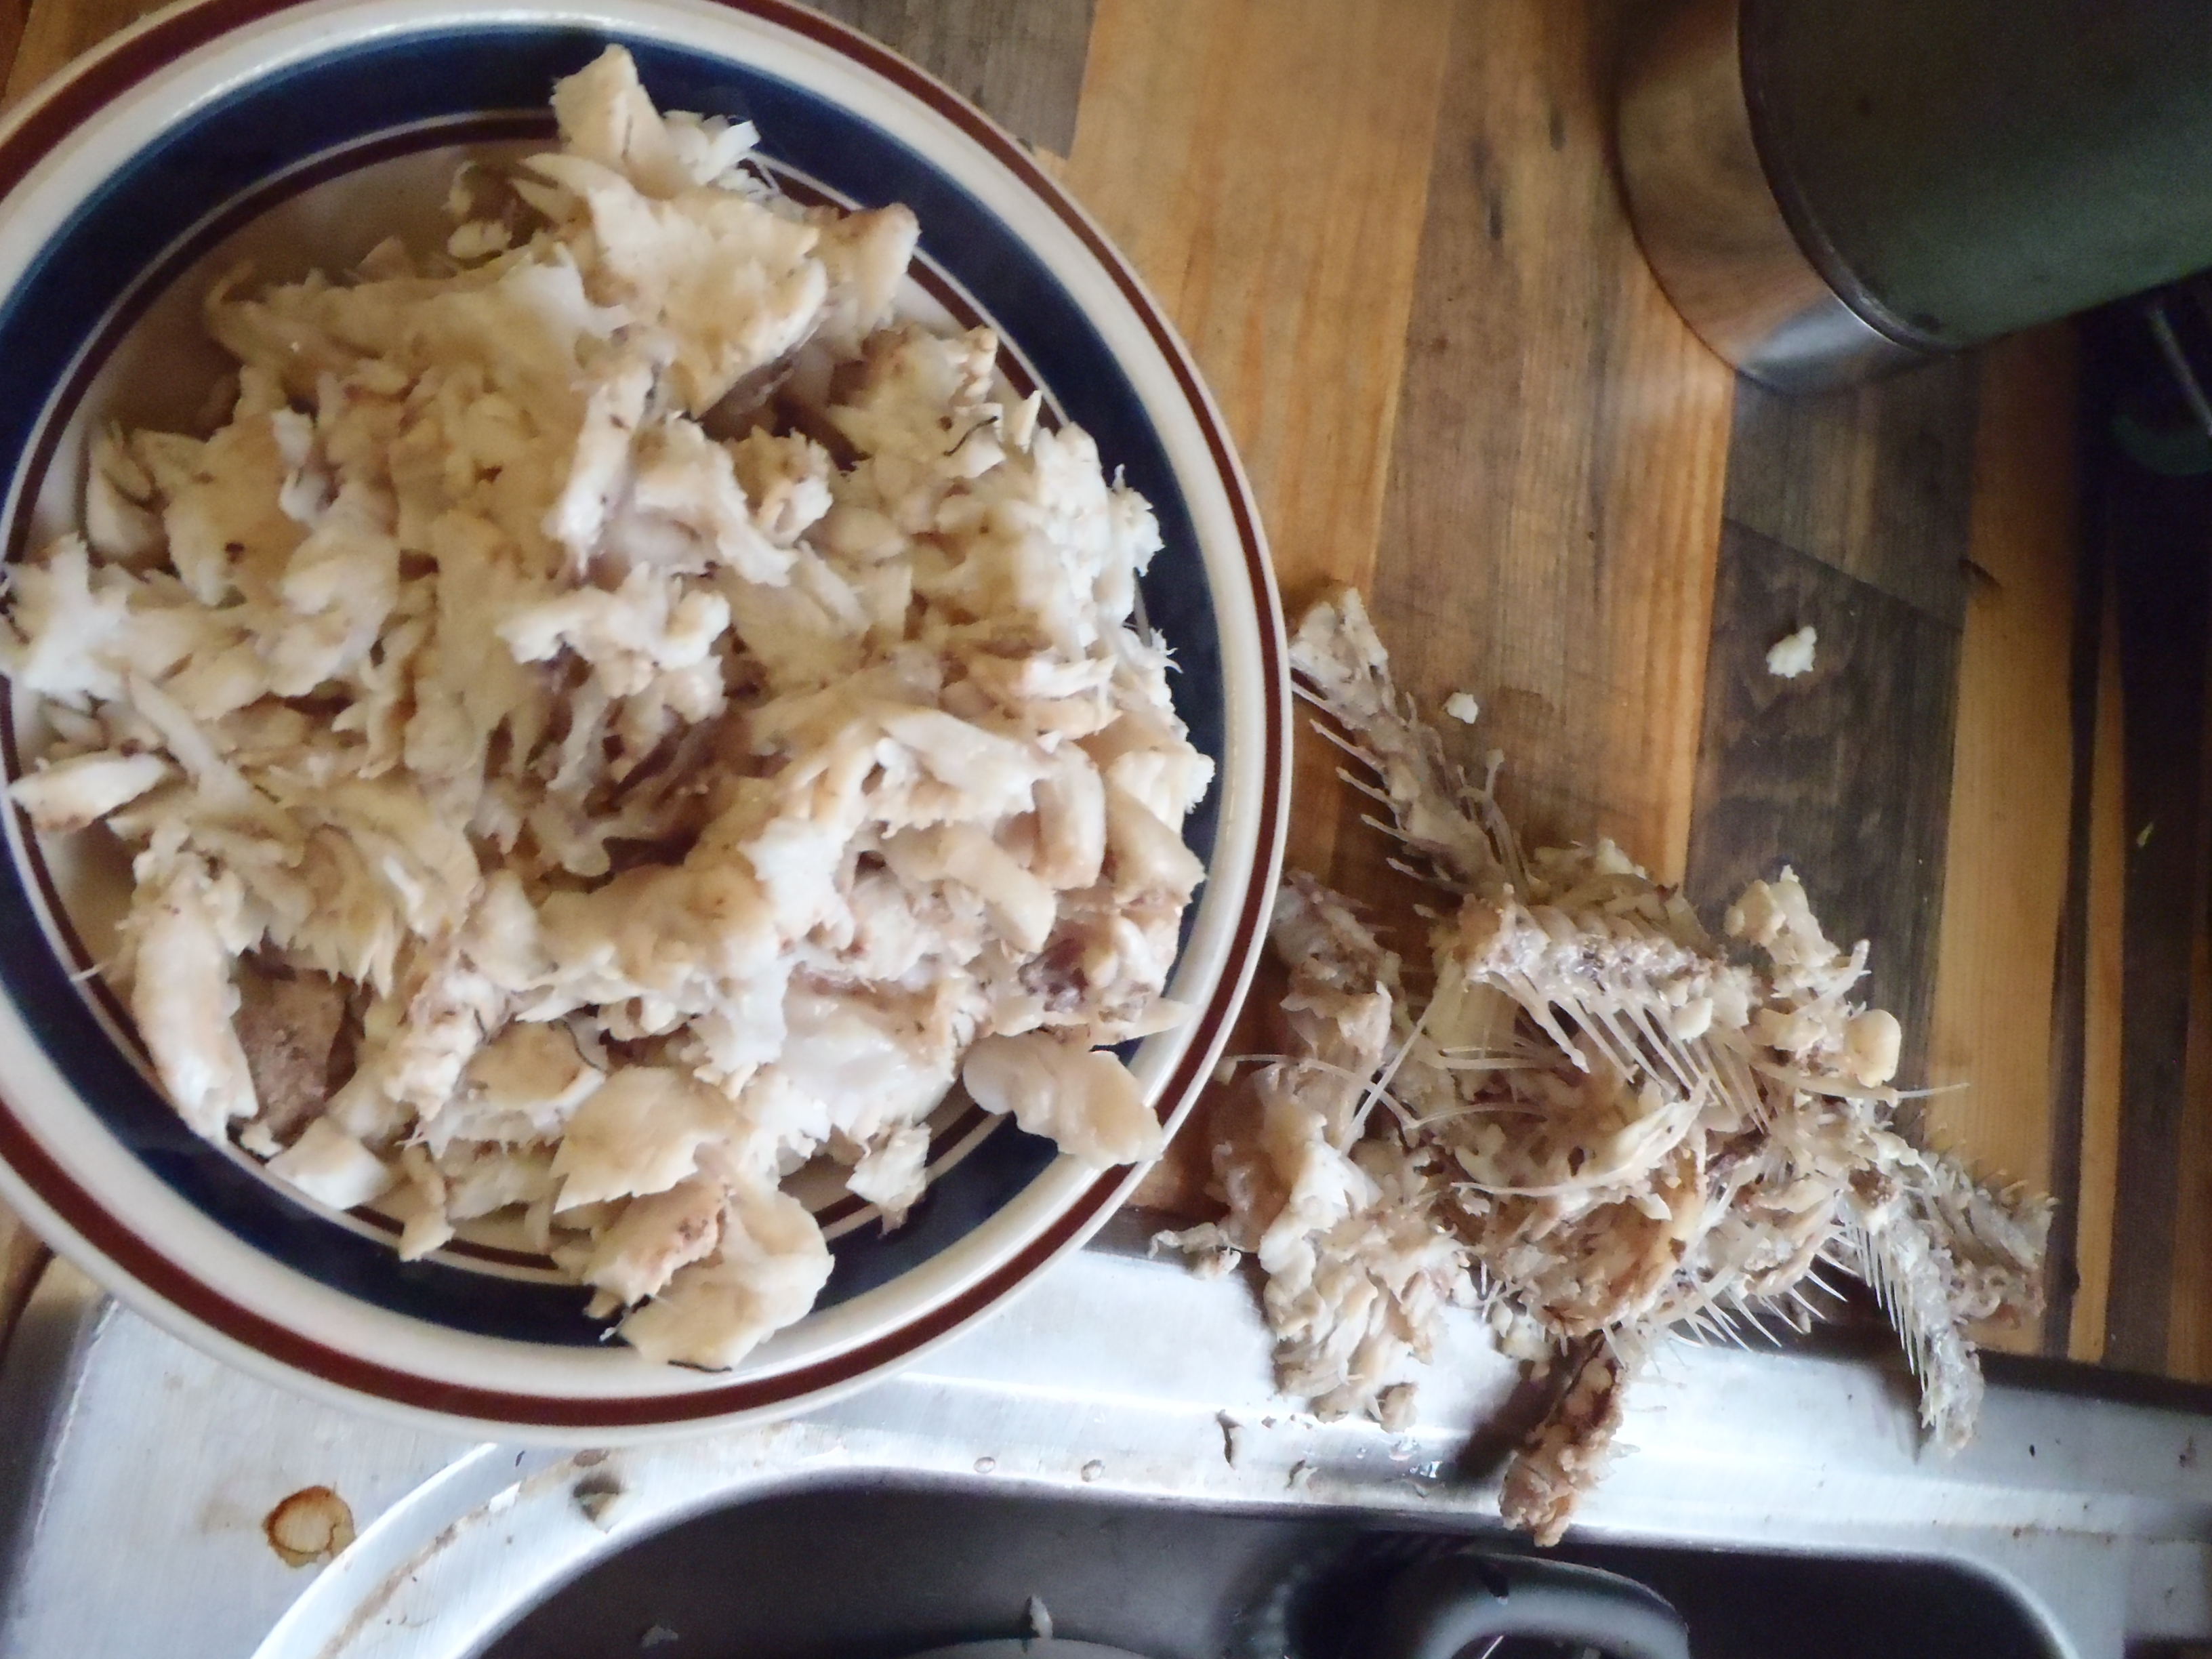
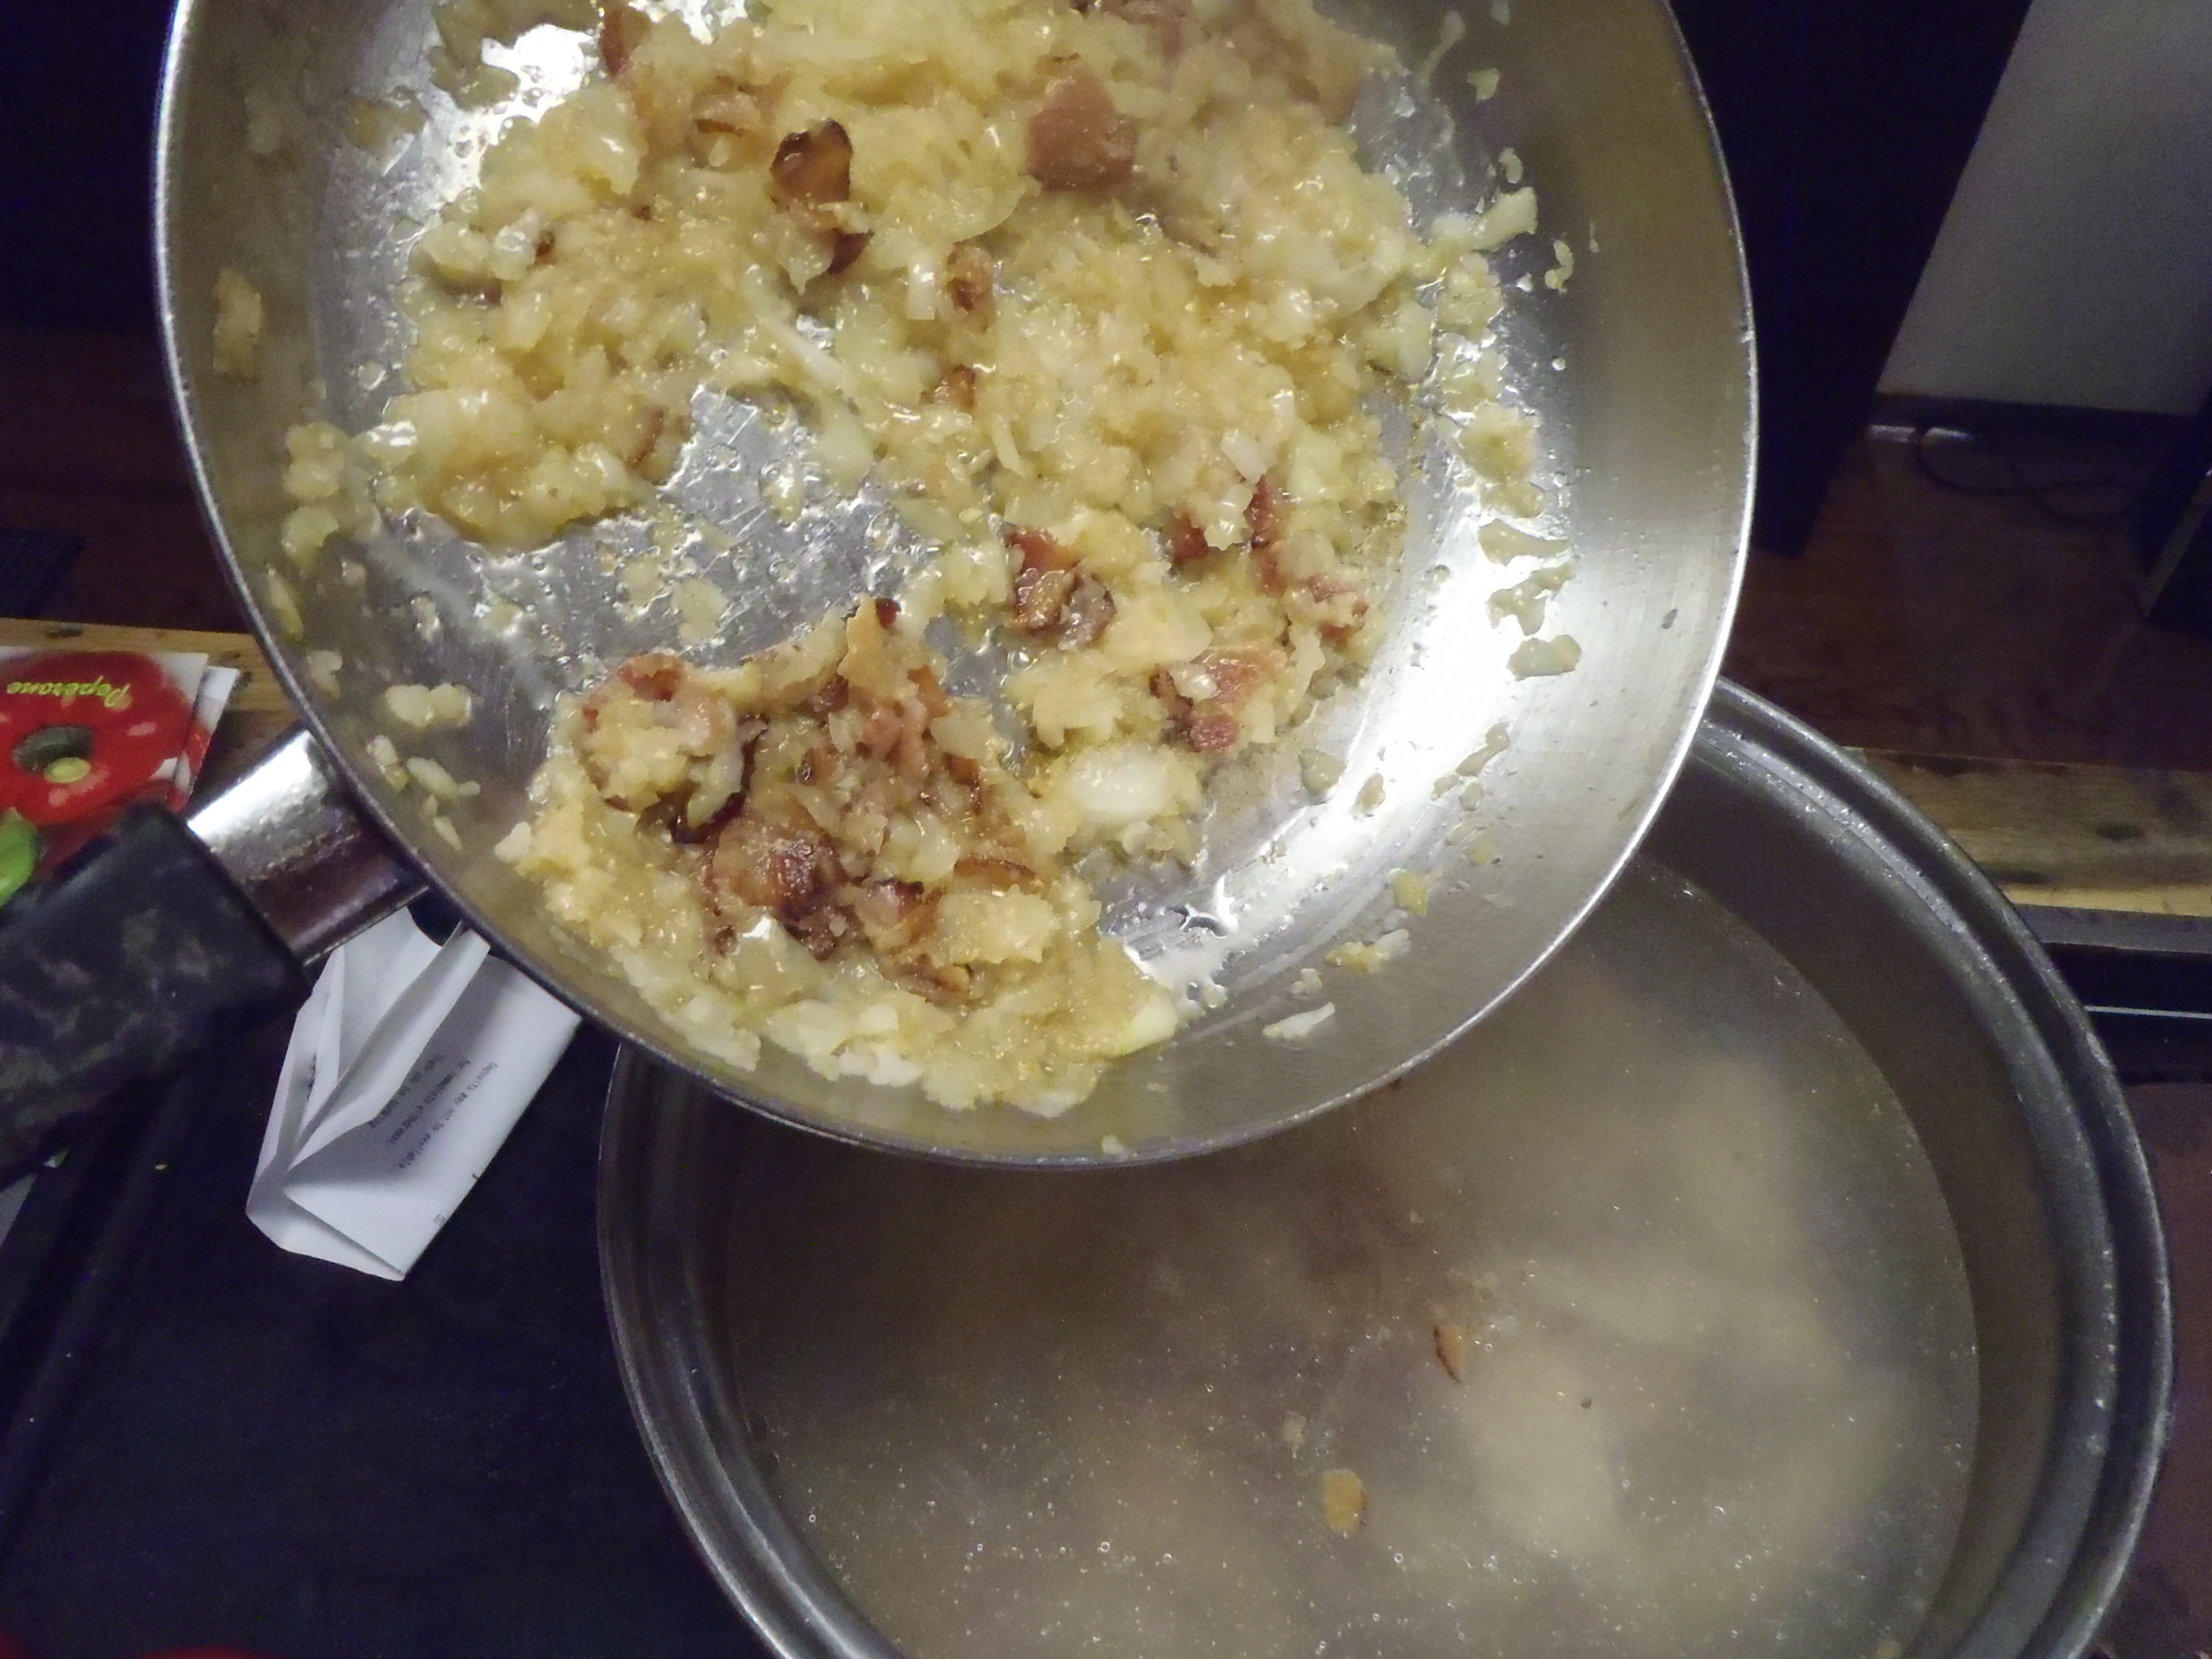
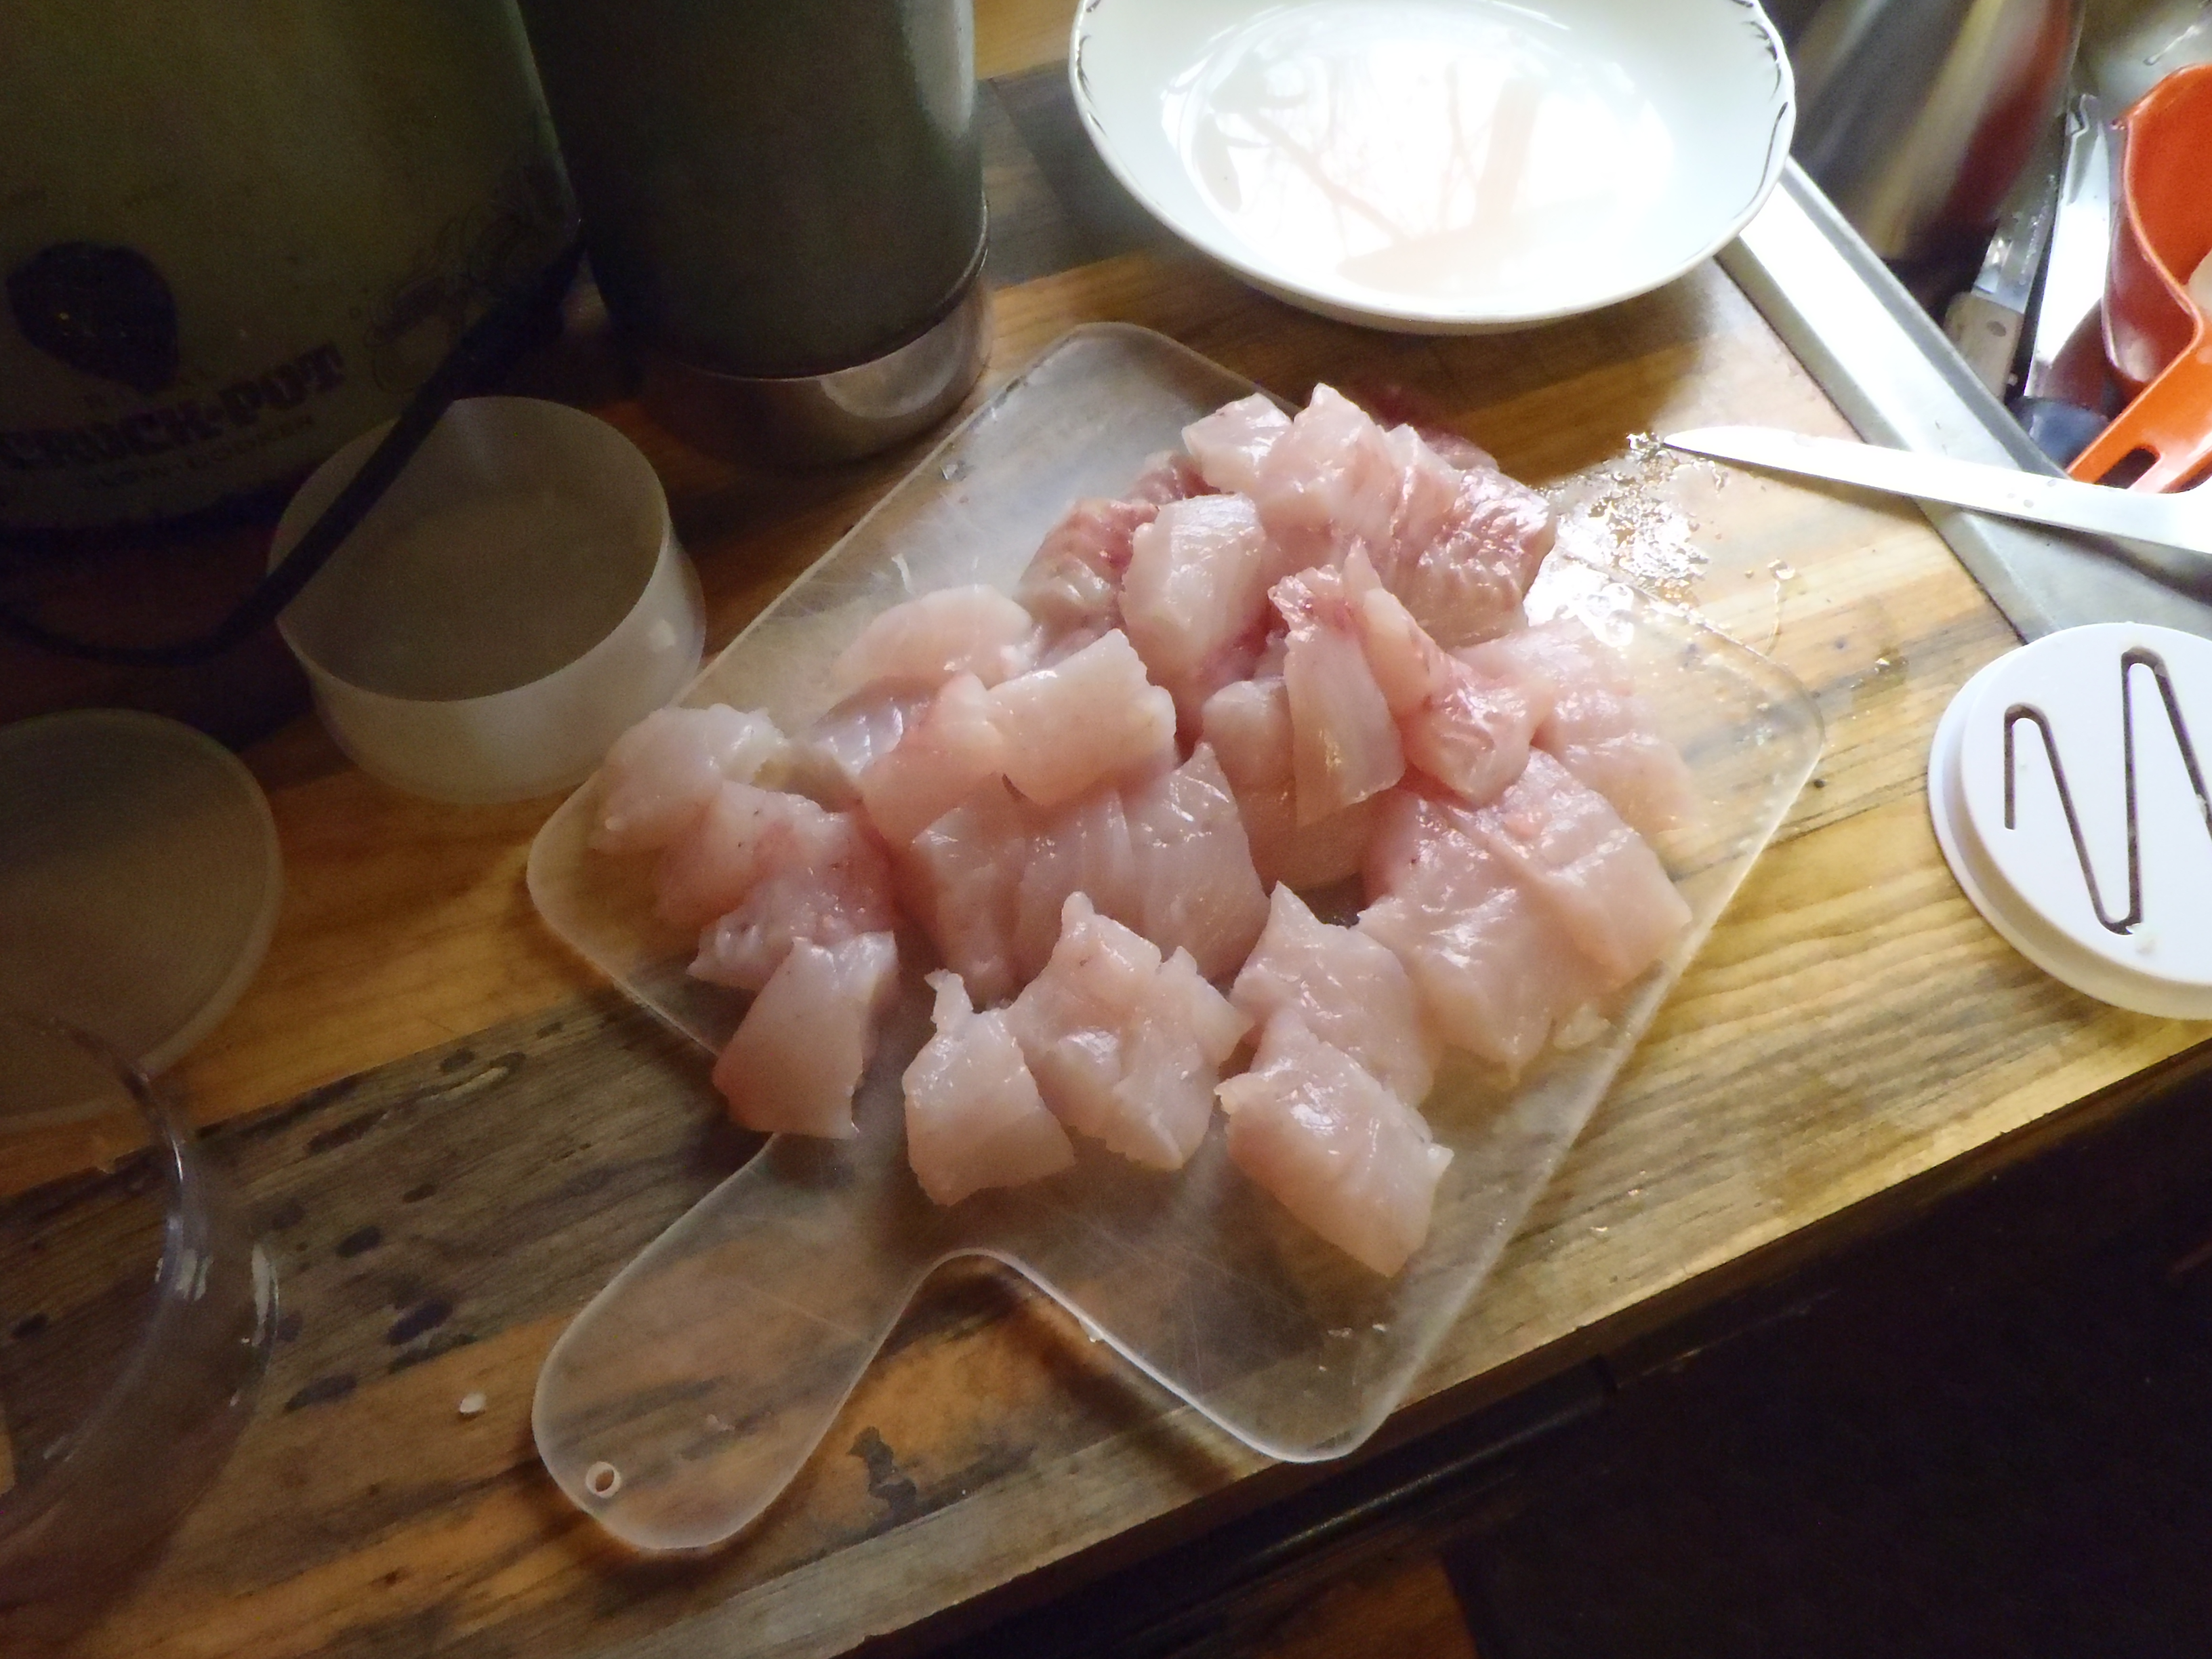
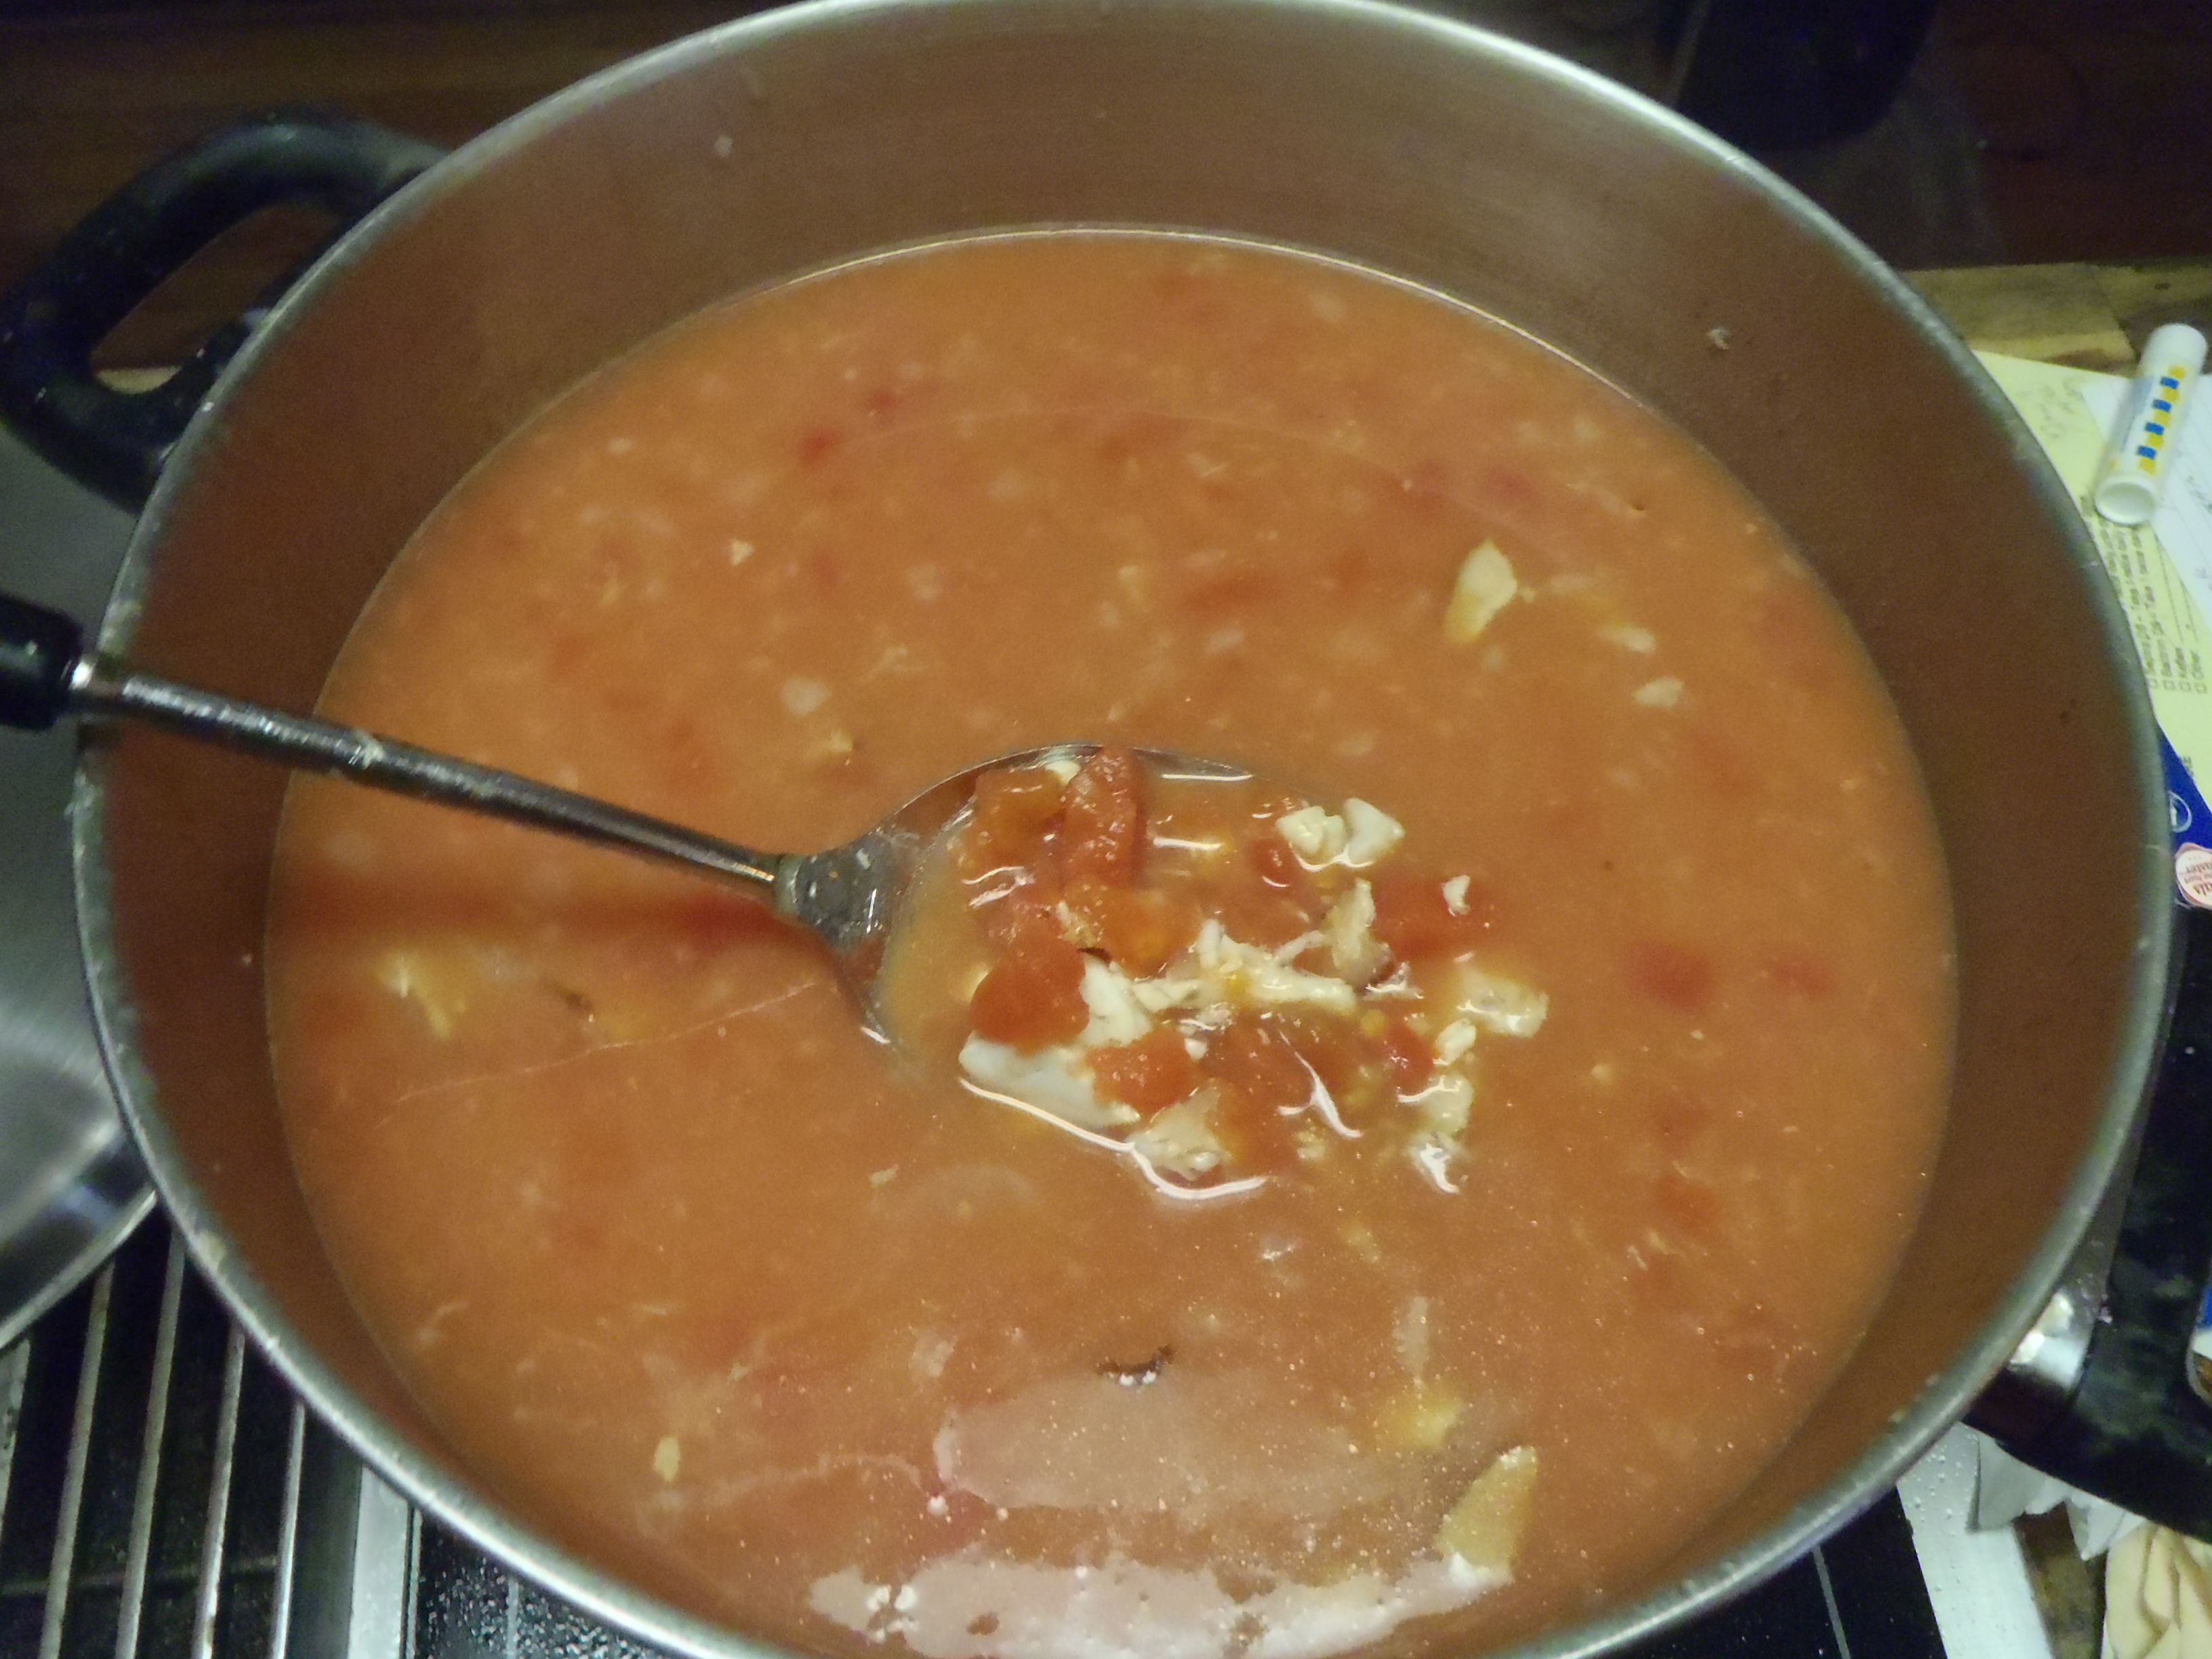
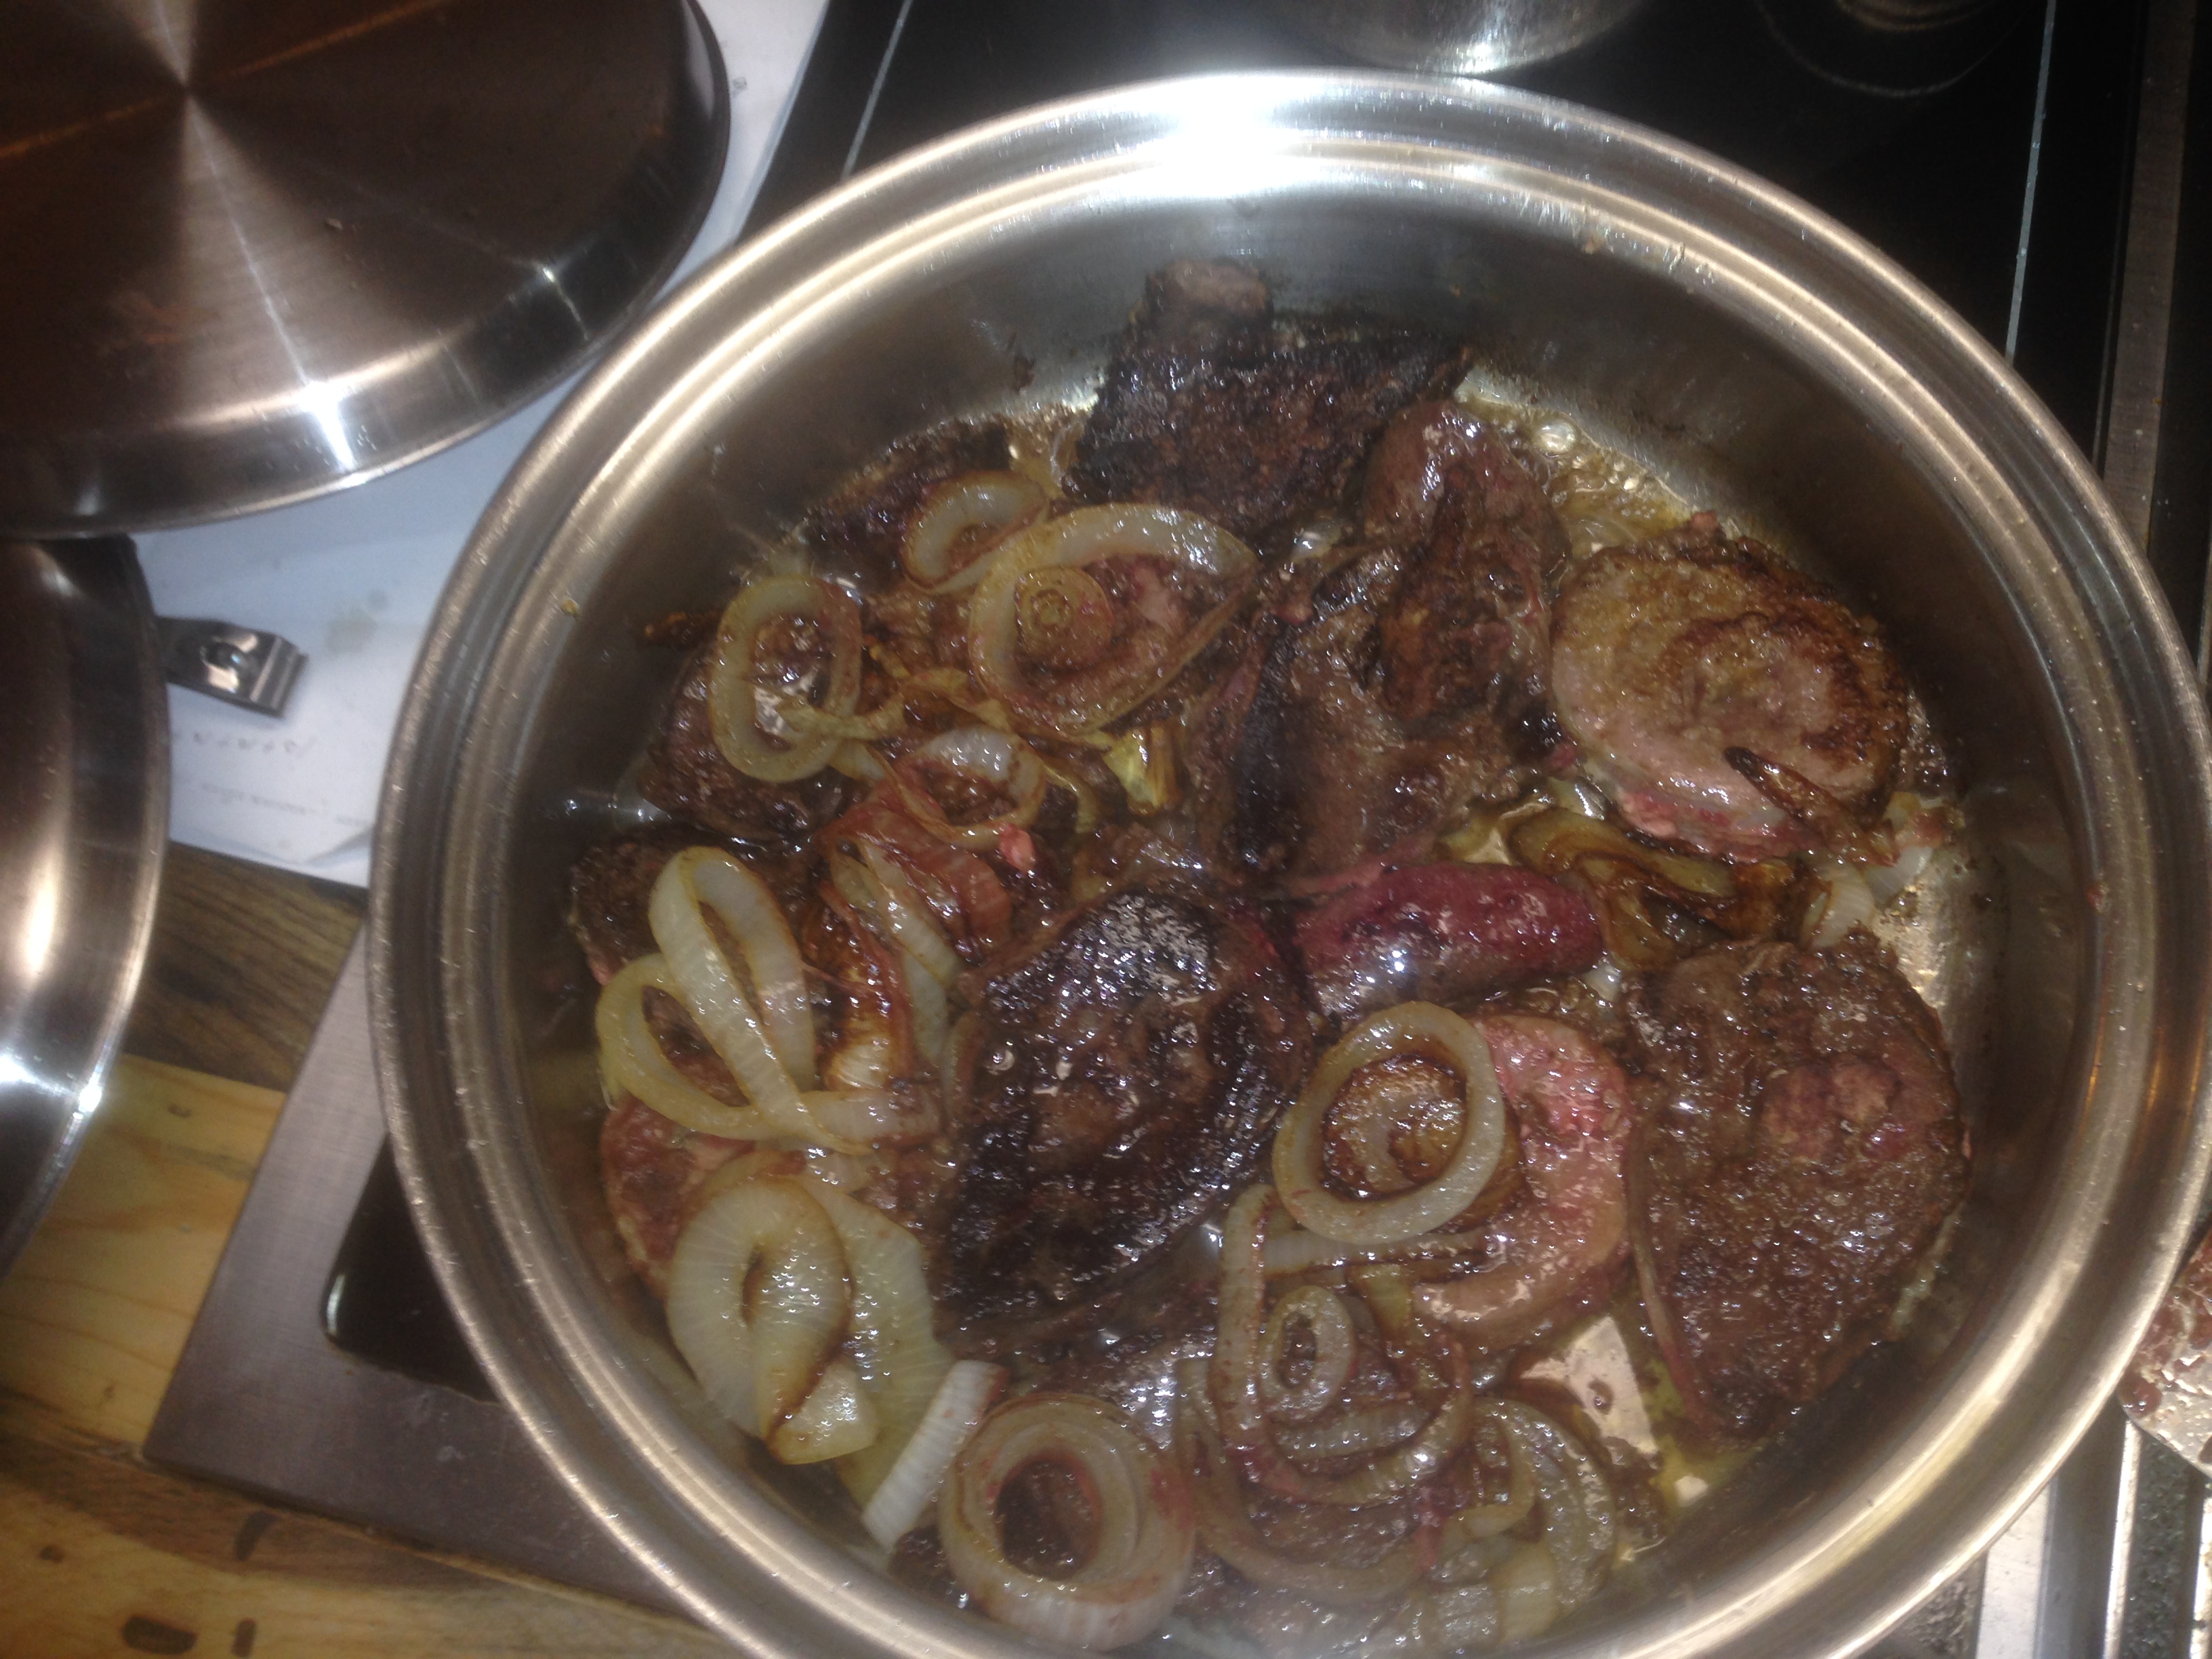
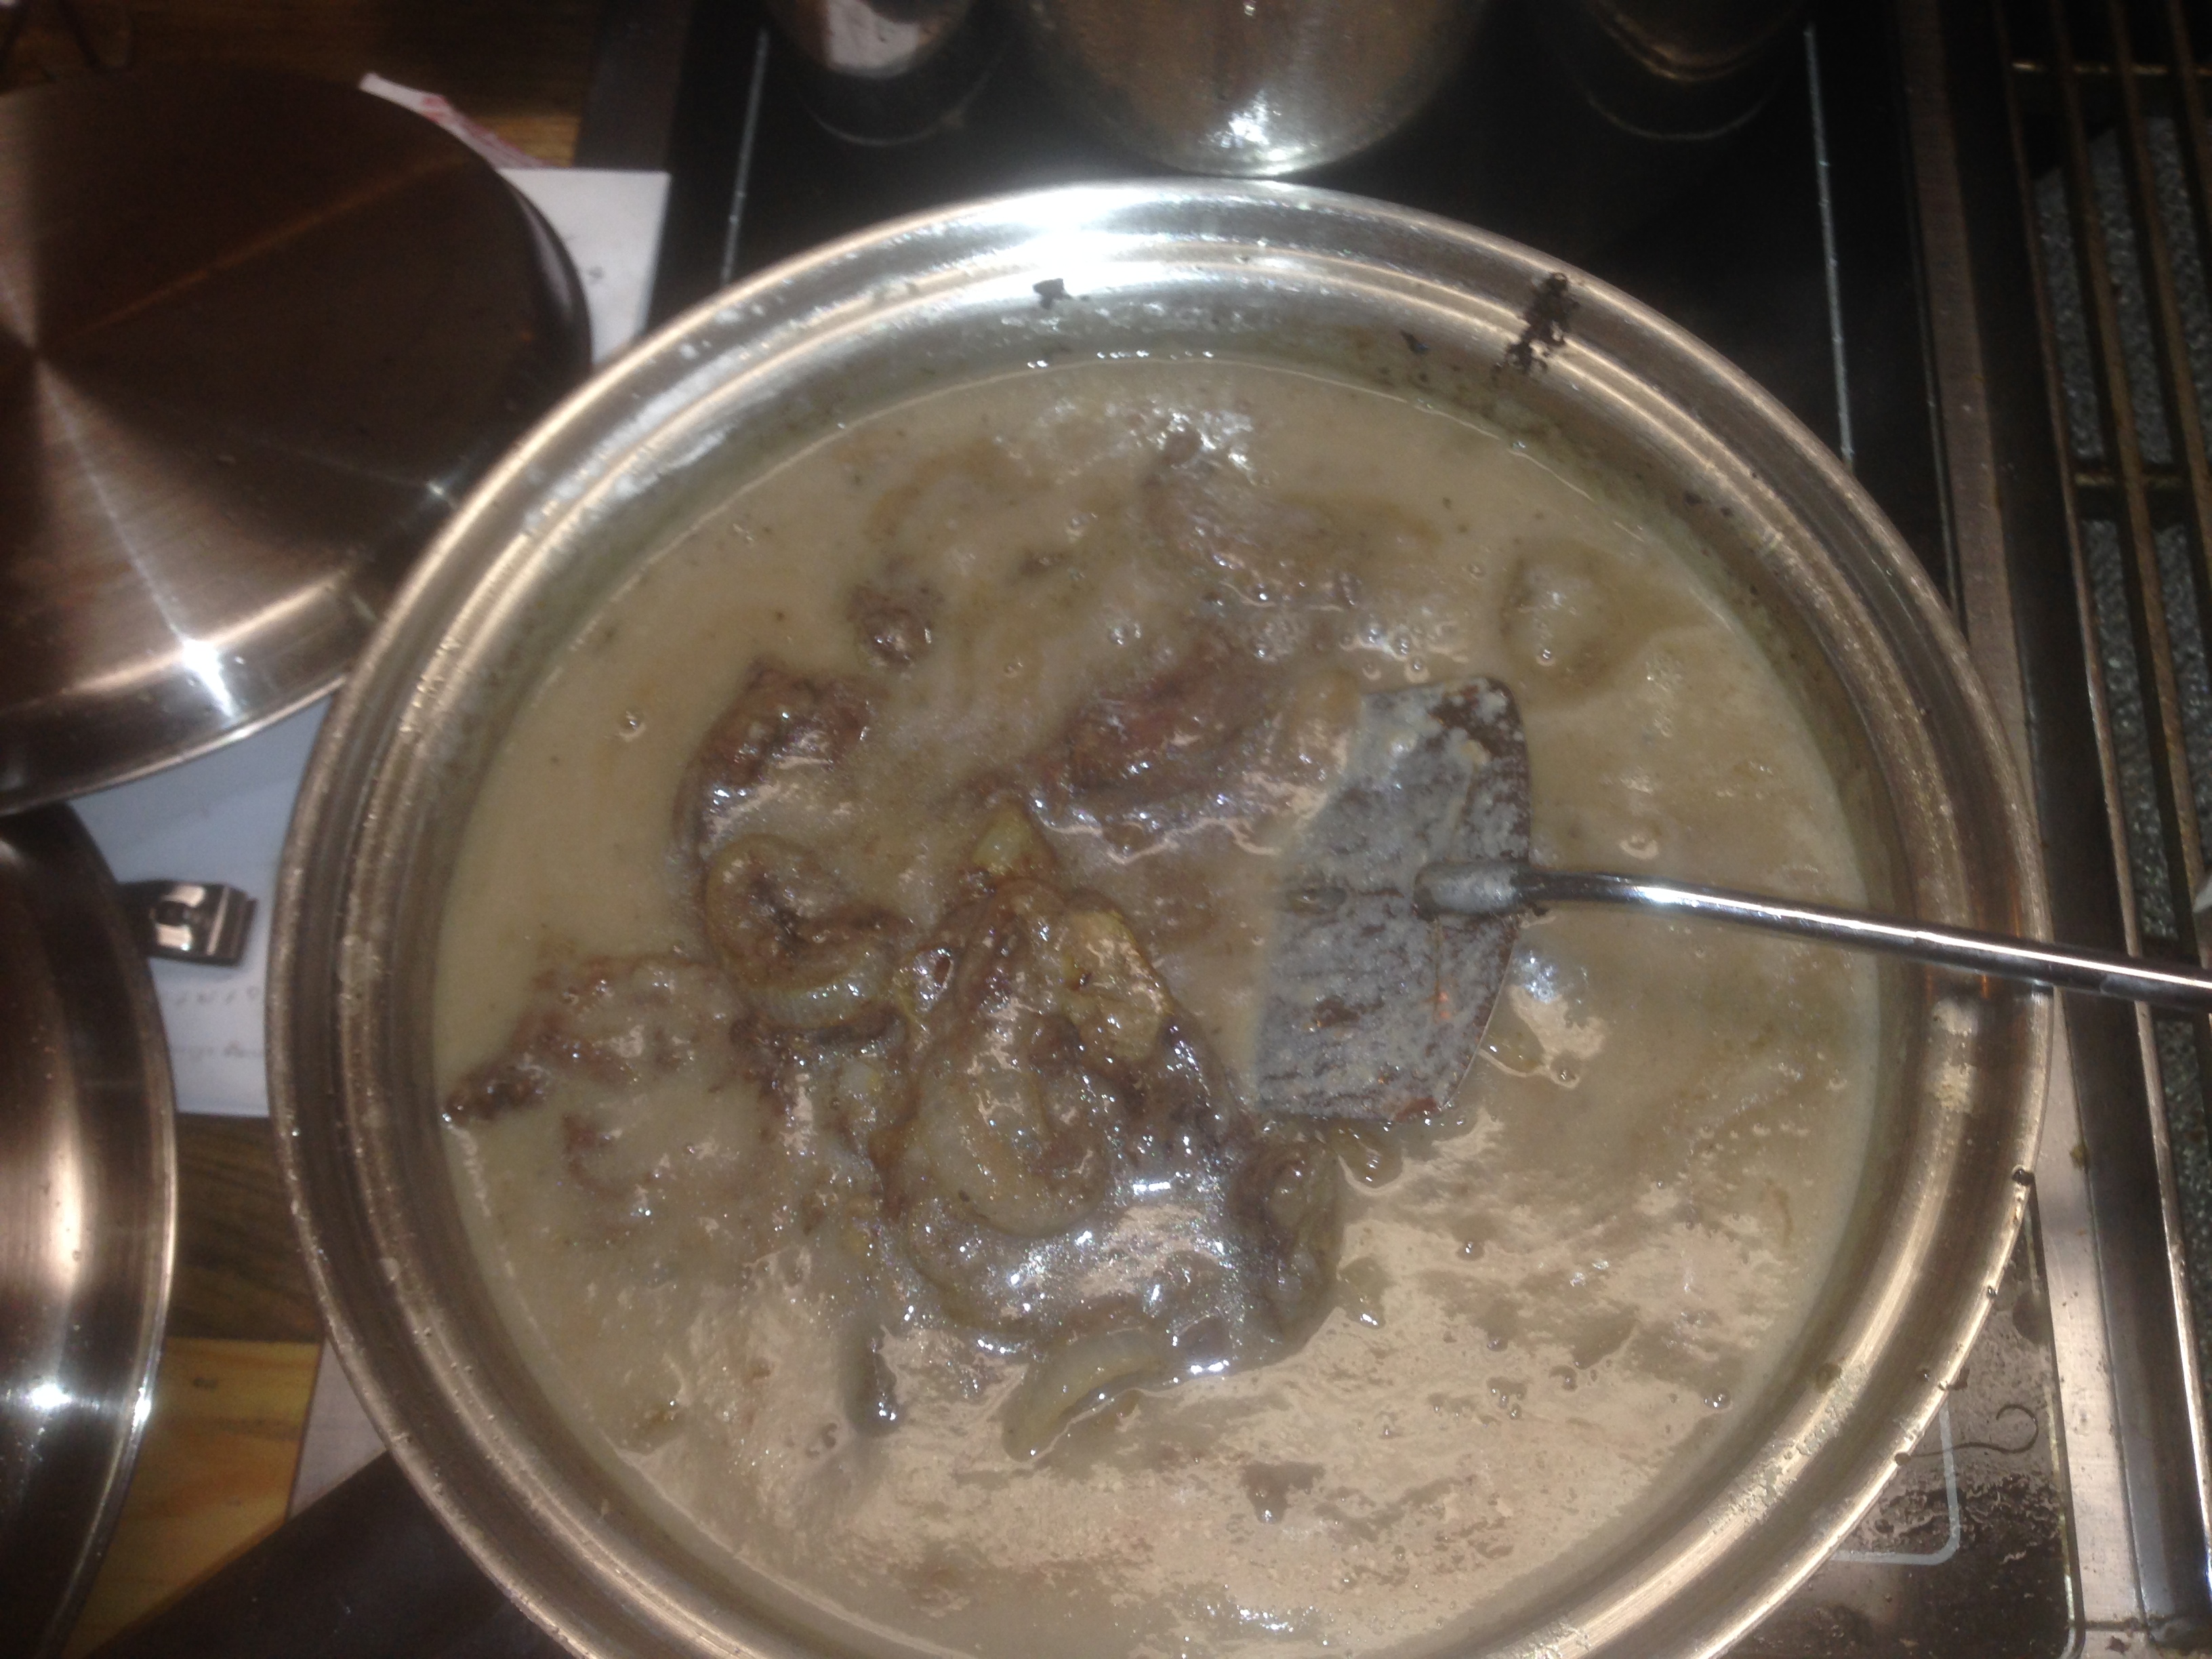
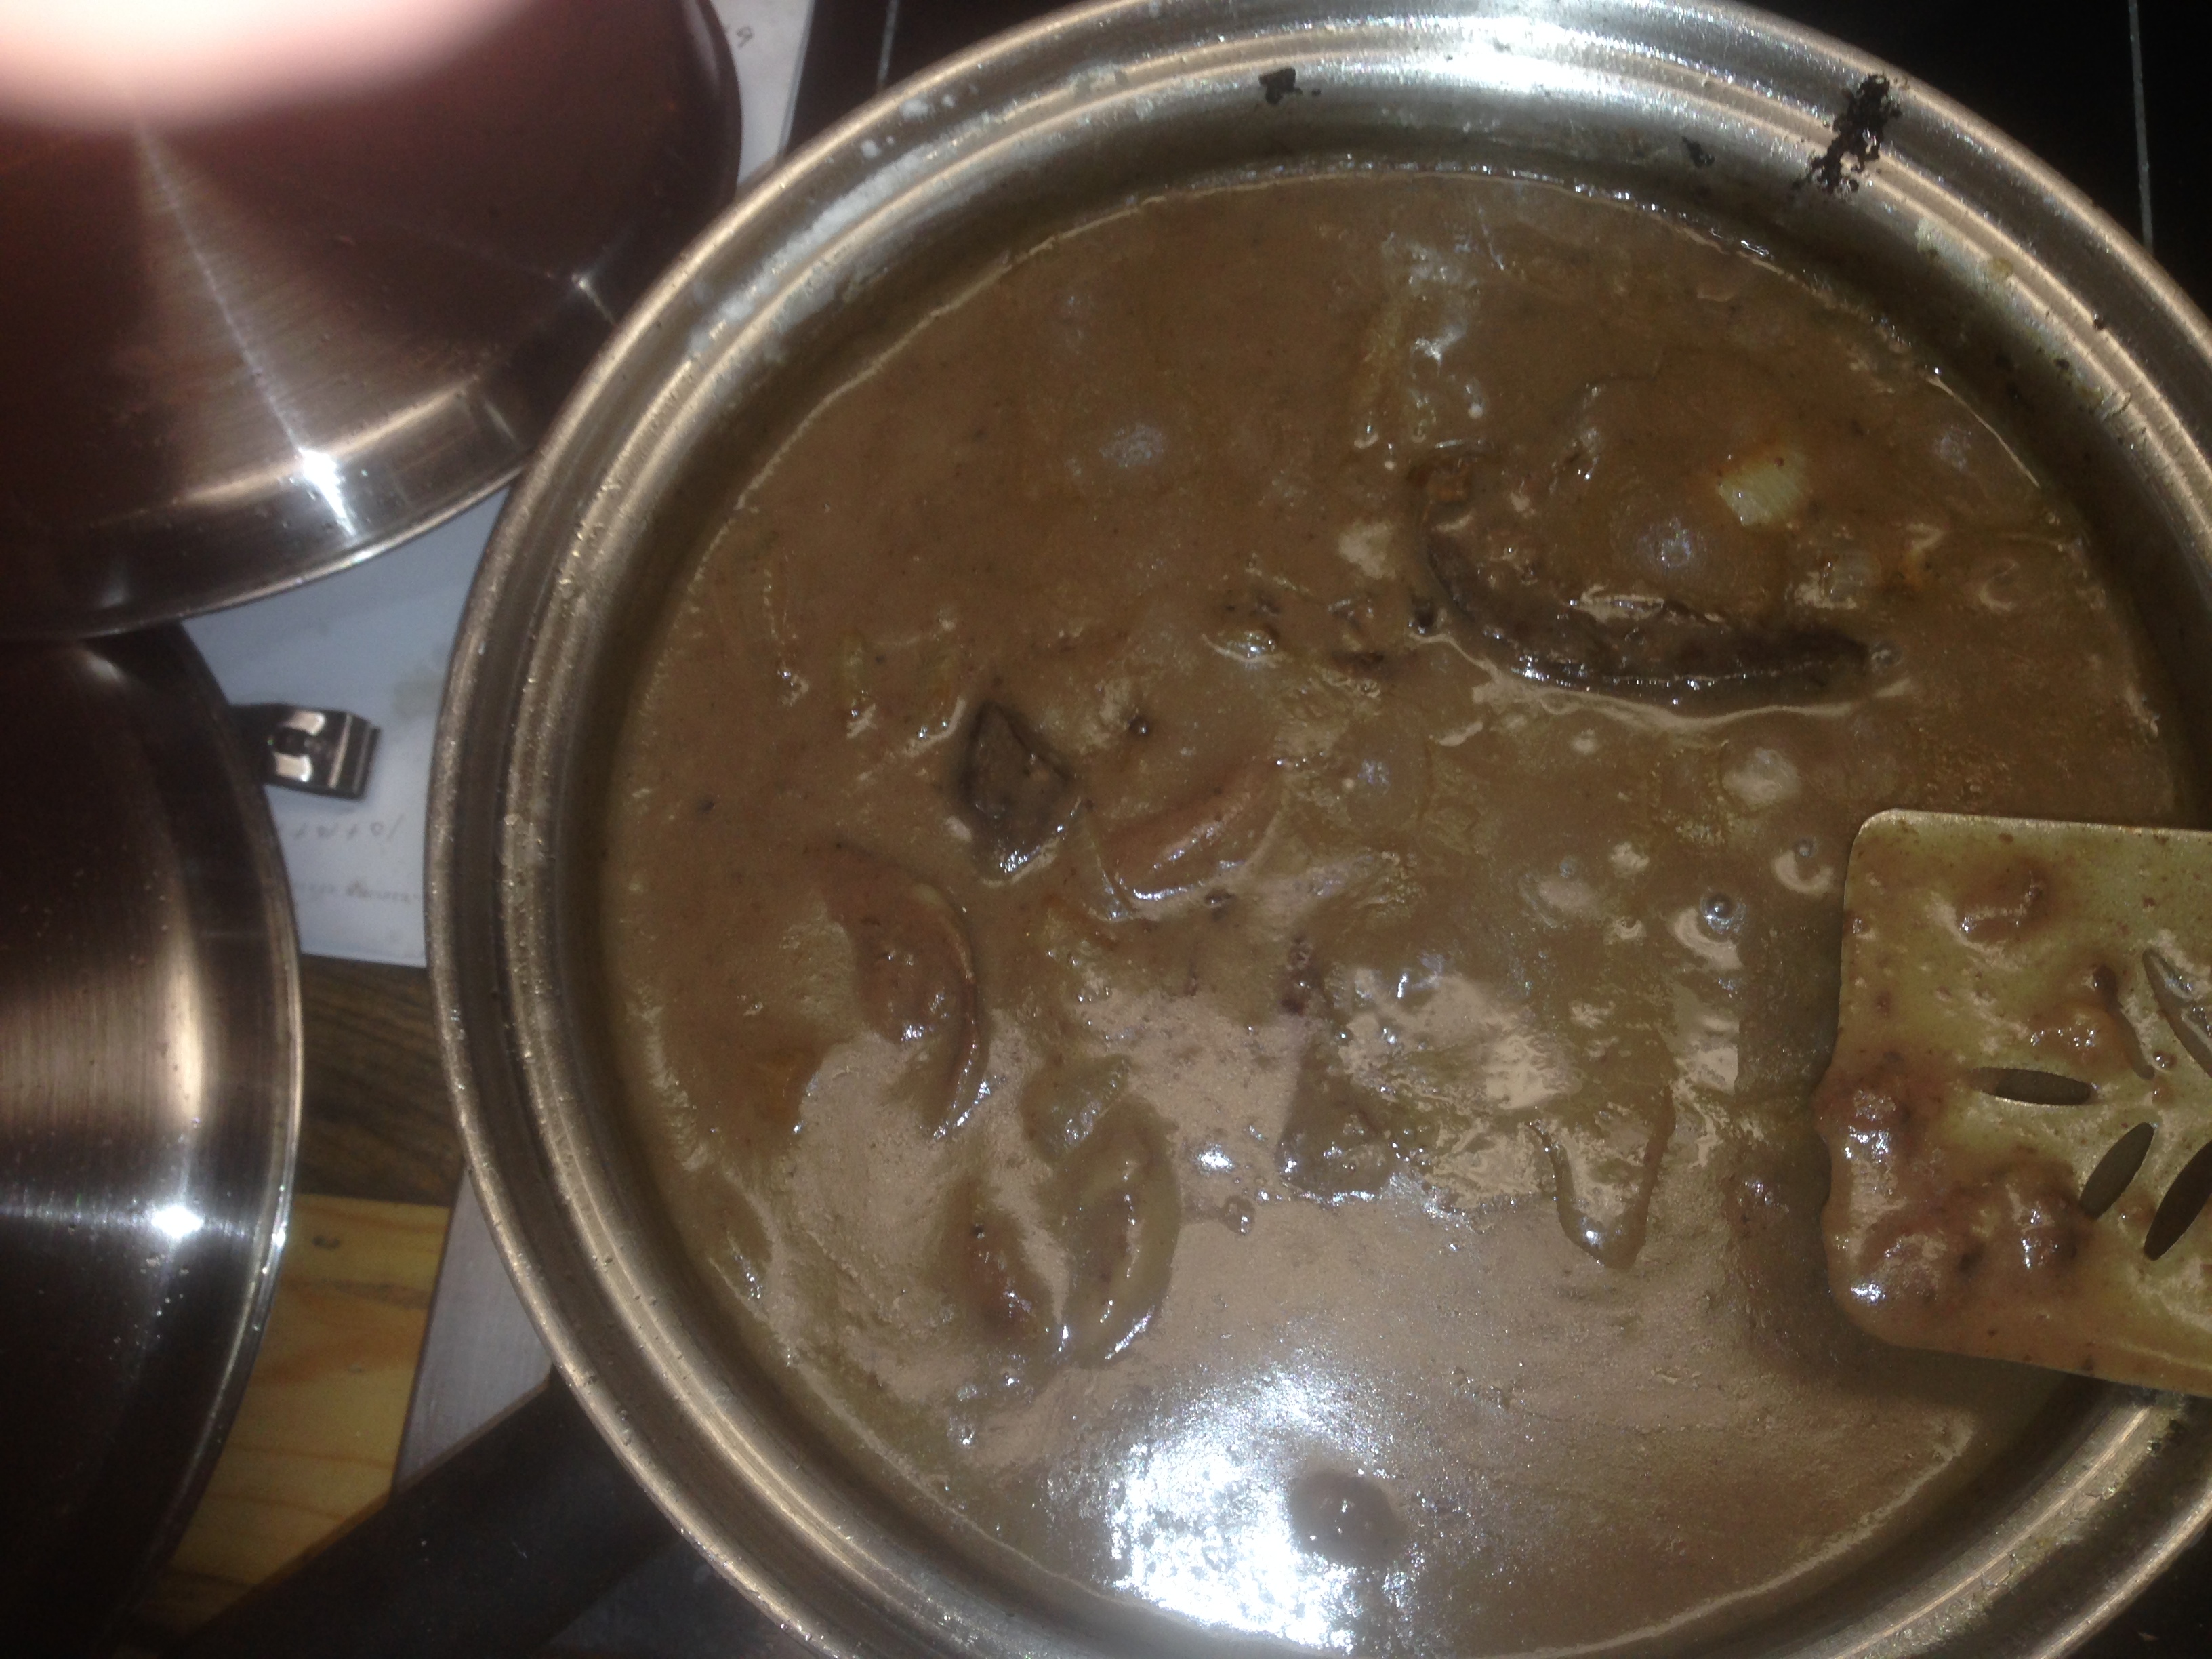
CMac’s special recipe.
Cats, Carp, and Courtbouillon
Like sheepshead, there are other fish thought of as trash, simply by reputation. On a late-March trip to Grand Isle, my fishing buddies got to tie into a handful of gafftopsail catfish, another much-maligned, yet hard-tugging and good-eating saltwater predator. I kept the fish, despite some dirty looks, and I used the filets to make a catfish courtbouillon, a rich tomato-based stew my family ate on Good Friday.
Everyone said it was delicious. They had no idea they were eating trash, I guess.
Gafftops, unlike their cousins the hardhead catfish, aren’t bottom-dwelling scavengers. They strike lures as aggressively as redfish and speckled trout and fight every bit as hard. On a memorable day in late August a few years ago, several five-pound gafftops exploded on topwater plugs in the Grand Isle surf when I was aiming for specks. The surface boiled and my drag screamed as if a redfish or big trout had busted the bait. But when the fight was over, my friends looked in disgust at what was on the end of the line. Similar to the way sheepshead were looked at 30 years ago, some of my friends won’t even put a gafftop in the ice chest for fear of scorn at the cleaning table.
But the list of reformed trash fish is growing each year. Bonito were once only kept for cut bait and chum, but if the meat is taken care of, they are just as tasty as their blackfin tuna relatives. Even the dreaded invasive Asian carp is pretty tasty after being dredged in seasoned corn meal and dropped in hot grease. There are more than enough of them available for those who want to give them a taste.
Making the Most of Our Time on the Water
I’m not suggesting that I would give up on a good trout bite or a school of hungry redfish to chase down gafftops or throw chunks of hermit crabs at sheepshead. But, like many fishermen who have busy home- and work-lives, I like to catch something while I’m out there—I’m not going to turn down the opportunity to hook aggressive-striking, hard-pulling fish and keep a few of them for the grill or the fryer.
And I’m not suggesting that improving the management of popular species like red snapper or cobia is less important because there are other fish out there to catch. My point is that, too often, anglers fall into the trap of getting hung up on catching one fish or another, and it can lead to a less enjoyable time on the water if a particular season is closed or the target species doesn’t cooperate that day. It might be up to us to “dig in the trash” more often.
But as attitudes towards these fish evolve and change, it will be even more important that our system of federal fisheries management does not ignore recreational fishing—because restaurant trends will come and go, but the importance of predictable seasons to local outdoor recreation businesses will not.
Read more conservation news at the Theodore Roosevelt Conservation Partnership here